How to Combine Multiple JPG Images Into One PDF (and Get the Settings Right)
Combining photos into a PDF sounds simple, but page orientation, image quality, and file size settings make the difference between a polished document and a bloated mess.
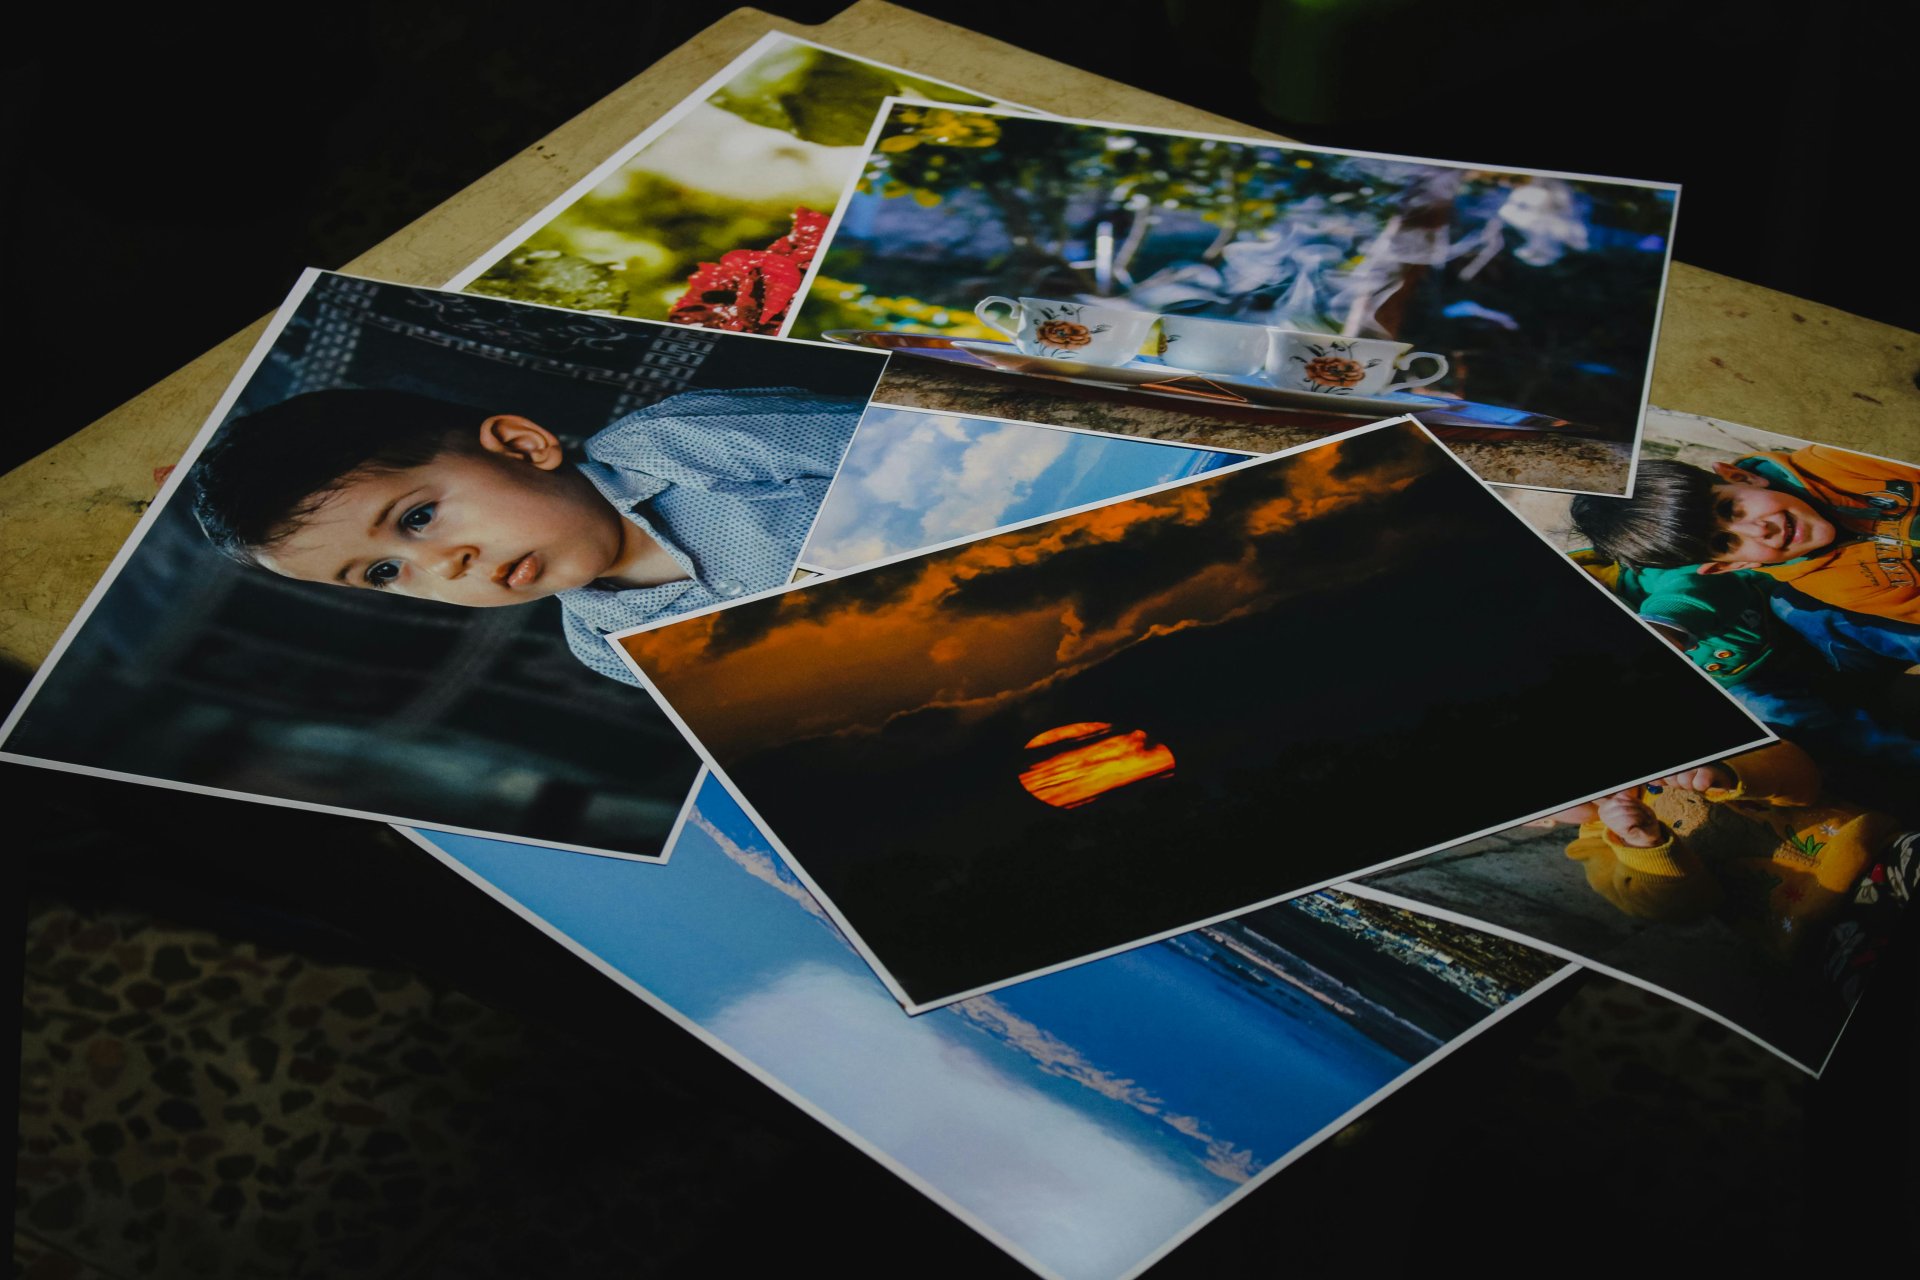
You photographed 15 receipts with your phone and need them in one PDF for your expense report. Or you have a set of scanned pages that need to become a single document. Or a client asked for your portfolio as a PDF instead of a folder of image files.
The conversion part is quick. Where people run into problems is getting the page orientation right, managing file size, and ensuring images display at the right quality. Here is how to handle all of it.
Why Images Become PDFs
The question comes up occasionally: why not just send the images as is? There are practical reasons PDFs work better in several situations.
A single file instead of many. Emailing 20 separate JPG attachments is messy. Recipients download them individually, and the files have no guaranteed display order. One PDF keeps everything together in a defined sequence.
Consistent viewing experience. A JPG image displays differently depending on the viewer's screen resolution, the image viewer software, and the zoom level. A PDF defines exact page dimensions, so the document looks the same on every device.
Print formatting. Printing individual images gives unpredictable results: some fill the page, others print tiny, margins vary. A PDF with defined page sizes prints exactly as expected, every time.
Professional presentation. A folder of IMG_3847.jpg through IMG_3862.jpg does not inspire confidence. A well-organized PDF with properly ordered pages looks like a document someone prepared with care.
The Three Settings That Matter
Most converters offer settings that significantly affect the output. Getting these right saves you from re-doing the conversion.
1. Page size. The most common choice is A4 (210 x 297 mm) or US Letter (8.5 x 11 inches). These work for documents headed to a printer or for general sharing. If your images are the content (portfolio, photo album), consider the "fit to image" option that makes each page match the image dimensions exactly, eliminating white borders.
2. Orientation. Portrait (vertical) or landscape (horizontal). If all your images have the same orientation, match it. If you have a mix, some converters auto-rotate pages to match each image. This is the ideal behavior for batches with mixed orientations.
3. Margins. Zero margins mean images fill the entire page. Small margins (10-15 mm) create a cleaner look with breathing room around the content. For scanned documents, zero margins preserve the original page appearance. For portfolios, moderate margins frame each image professionally.
Common Use Cases and Settings
| Use Case | Page Size | Margins | Orientation |
|---|---|---|---|
| Scanned documents | A4 or Letter | Zero | Match original |
| Receipt collection | A4 or Letter | Small (10mm) | Portrait |
| Photo portfolio | Fit to image | Zero | Auto per image |
| Screenshots for documentation | A4 or Letter | Medium (15mm) | Landscape |
| ID/passport copies | A4 or Letter | Large (20mm+) | Portrait |
Step by Step
The process is the same regardless of which tool you use. You can combine your JPG images into a PDF document in about a minute.
Step 1: Prepare your images. Rename files to control order (01_front.jpg, 02_inside.jpg). Delete duplicates and any images you do not want in the final PDF. Rotate images that are sideways before uploading if your converter does not auto-rotate.
Step 2: Upload and arrange. Most tools display thumbnails after upload. Drag them into the correct sequence. Double-check the order because rearranging a finished PDF is an extra step you can skip by getting it right here.
Step 3: Choose settings. Pick your page size, orientation, and margin preferences based on the use case table above. When in doubt, A4 portrait with 10mm margins works for most situations.
Step 4: Convert and verify. After downloading, open the PDF and scroll through every page. Check that images appear in the right order, none are cropped unexpectedly, and the quality looks acceptable. Catching a problem now takes seconds. Discovering it after you sent the document takes a phone call.
Managing File Size
PDF file size is almost entirely determined by the embedded images. A 3 MB JPG becomes roughly 3 MB of data inside the PDF. Twenty photos at 4 MB each produce an 80 MB PDF. That is too large for most email systems, which typically cap at 25 MB.
Before conversion: Resize images to the dimensions you actually need. A 4000x3000 pixel photo does not need to be that large if the PDF is for on-screen viewing. Resize to 2000x1500 and the file size drops by roughly 75%. Reduce JPG quality from 100% to 80% and you lose another chunk of file size with barely visible quality change.
After conversion: Run the PDF through a PDF compressor. Good compressors reduce image resolution and re-optimize compression, often cutting file size by 50-70% with acceptable quality for digital viewing.
Know your limits. Email: 25 MB. WhatsApp: 100 MB for documents. Slack: varies by plan. Job application portals: often 5-10 MB. Plan your compression around the delivery channel.
Get the Sequence Right
The number one complaint with image-to-PDF conversion is pages in the wrong order. Converters process files in upload order or alphabetical order. Phone photos named IMG_4521 through IMG_4535 will sort correctly, but if you mix photos from different cameras or rename some files, the order gets unpredictable.
Spend 30 seconds numbering your files before uploading. It eliminates the most common source of "I need to redo this" moments.