5 Sourdough Bread Recipes You Can Actually Pull Off This Weekend
Five tested sourdough recipes ranging from a basic country loaf to focaccia and cinnamon raisin bread, with exact measurements, timing, and the mistakes to avoid at each step.
I spent most of a winter working through sourdough recipes, burning the bottoms of loaves, producing bricks that could anchor a boat, and occasionally pulling something out of the oven that made the whole kitchen smell incredible. What I kept coming back to was that the actual recipes are not complicated. The timing and feel of the dough are what trip people up, and no recipe can fully teach those. But having clear numbers and a reliable process gets you 90% of the way there.
Here are five sourdough recipes I have made dozens of times each. They range from a dead-simple country loaf to a cinnamon raisin bread that disappears within hours of coming out of the oven. Every recipe assumes you have an active, healthy starter that passes the float test. If you are not sure about your ratios, calculate the exact amounts using baker's percentages before you start mixing.

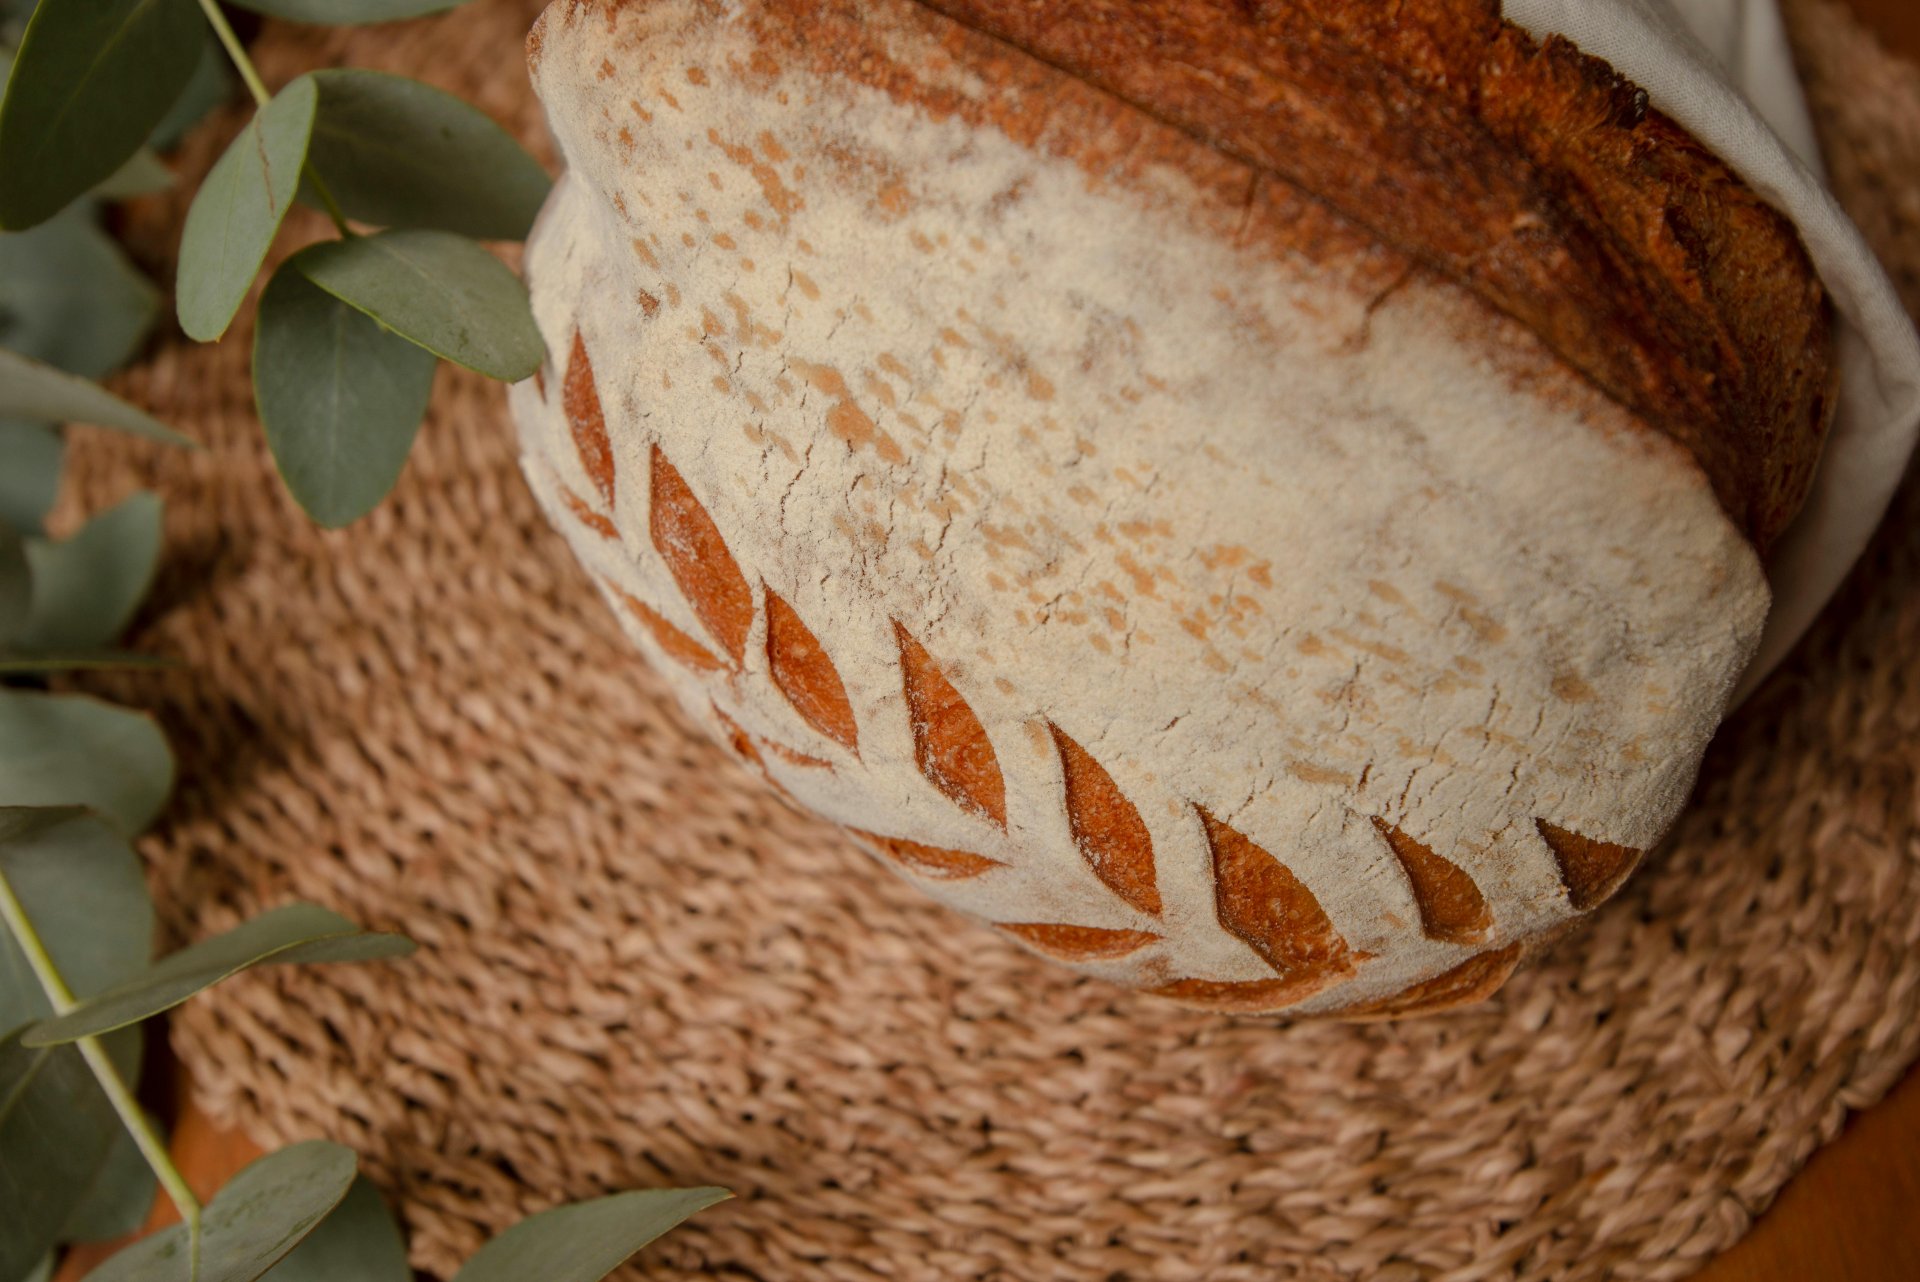
Recipe 1: The Everyday Country Loaf
This is the bread I make every week. It is forgiving, consistent, and produces a loaf with a crackling crust and a soft, open crumb. The 68% hydration is high enough to get good oven spring but low enough that the dough does not feel like it is fighting you during shaping.
Ingredients
- 500g bread flour (12-14% protein)
- 340g water (68%)
- 100g active starter (20%)
- 10g fine sea salt (2%)
Method
Mix flour and water in a large bowl until no dry flour remains. Cover and let it rest for 45 minutes. This autolyse step lets the flour hydrate fully and starts gluten development before you even touch the dough. After 45 minutes, add the starter by spreading it over the dough surface and squeezing it in with your fingers until incorporated. Wait 20 minutes, then add the salt with a splash of water to help it dissolve. Squeeze and fold until the salt is distributed evenly.
Over the next four hours, perform four sets of stretch and folds, spaced 30 to 45 minutes apart. For each set, wet your hand, grab one side of the dough, stretch it up, and fold it over the centre. Rotate the bowl 90 degrees and repeat four times. After the last set of folds, leave the dough undisturbed for the remaining time. The dough should look puffy, jiggly, and roughly 50% larger than when you started.
Turn the dough onto a lightly floured surface. Pre-shape by pulling the edges toward the centre, then flip it seam-side down and let it rest for 20 minutes. Final shape by pulling the dough toward you on the counter to create surface tension. Place seam-side up in a floured banneton, cover tightly, and refrigerate for 12 to 16 hours.
Preheat your oven to 250 degrees Celsius with a Dutch oven inside. Score the dough with a single swift slash about 1cm deep at a 30-degree angle. Bake covered for 20 minutes, then remove the lid, drop temperature to 230 degrees, and bake another 20 to 25 minutes until deep golden brown. Let it cool for at least one hour before slicing.
Recipe 2: Soft Sourdough Sandwich Bread
Not every sourdough needs to be a crusty artisan round. This recipe produces a soft, slightly sweet loaf that makes exceptional sandwiches and toast. The addition of butter and honey gives it a tender crumb that stays fresh for several days.
Ingredients
- 450g all-purpose flour
- 270g whole milk, lukewarm (60%)
- 90g active starter (20%)
- 30g unsalted butter, softened
- 25g honey
- 9g fine sea salt (2%)
Method
Combine flour, milk, honey, and starter in a bowl. Mix until a shaggy dough forms. Let it rest for 30 minutes. Add the salt and softened butter, then knead for about 8 minutes until the dough is smooth, elastic, and pulls away from the sides of the bowl. The butter will feel slippery at first but will incorporate fully with patience.
Bulk ferment for five to six hours at room temperature, performing two sets of stretch and folds in the first two hours. The dough should be smooth and puffy when ready. Shape into a tight log, tuck the seams under, and place seam-side down in a greased 9x5-inch loaf pan. Cover and proof at room temperature for two to three hours, or until the dough rises about 2cm above the rim of the pan.
Preheat your oven to 190 degrees Celsius. Brush the top with milk or an egg wash. Bake for 35 to 40 minutes until the top is golden and the internal temperature reaches 95 degrees Celsius. Remove from pan immediately and cool on a wire rack. This bread slices beautifully once fully cooled.

Recipe 3: Sourdough Focaccia
Focaccia is the most forgiving bread you can make with sourdough. High hydration, lots of olive oil, and a sheet pan that does the shaping for you. It is nearly impossible to mess up, and the result is a pillowy, olive-oil-soaked flatbread with a crisp bottom.
Ingredients
- 500g bread flour
- 400g water (80%)
- 100g active starter (20%)
- 10g fine sea salt (2%)
- 4 tablespoons extra virgin olive oil, divided
- Flaky salt and fresh rosemary for topping
Method
Mix flour, water, and starter until combined. Rest 30 minutes, then add salt and 2 tablespoons of olive oil. Squeeze and fold until incorporated. Perform three sets of stretch and folds over the next 90 minutes. After that, transfer the dough to a well-oiled container, cover, and refrigerate overnight, anywhere from 12 to 24 hours. This cold fermentation develops flavour and makes the dough easier to handle.
The next day, pour the remaining olive oil into a rimmed baking sheet (about 33 x 23cm). Pour the dough directly onto the oiled pan. Gently stretch it toward the edges with oiled fingers. If it springs back, let it rest 15 minutes and try again. Once it fills the pan, dimple the entire surface with your fingertips, pressing all the way down to the pan bottom. Drizzle more oil over the top, scatter fresh rosemary needles and flaky salt. Let it proof at room temperature for 60 to 90 minutes until visibly puffy and bubbly.
Bake at 220 degrees Celsius for 22 to 28 minutes until the top is golden and the edges are crisp. Slide onto a cutting board and cut while warm. Best eaten same day, but toasts well the next morning.
Recipe 4: Cinnamon Raisin Sourdough
This is the one my family asks for repeatedly. It makes incredible French toast the next day and the whole house smells like a bakery while it bakes. The trick is to fold in the raisins and cinnamon sugar during shaping rather than during mixing, which gives you visible cinnamon swirls in every slice.
Ingredients
- 450g bread flour
- 50g whole wheat flour
- 320g water (64%)
- 100g active starter (20%)
- 10g fine sea salt (2%)
- 120g raisins, soaked in warm water for 20 minutes and drained
- 40g brown sugar mixed with 2 teaspoons ground cinnamon
Method
Mix both flours and water. Autolyse for 40 minutes. Add starter, mix well, wait 20 minutes, then add salt. Bulk ferment for four to five hours with three sets of stretch and folds in the first two hours. The dough should be noticeably larger and dome-shaped on top when ready.
Turn the dough onto a lightly floured surface and gently press it into a rectangle about 30cm wide. Spread the drained raisins evenly over the surface, then sprinkle the cinnamon sugar mixture on top. Roll the dough into a tight log from the short side, tucking the seam under. Place seam-side up in a floured banneton. Cover and refrigerate overnight.
Preheat oven to 240 degrees Celsius with Dutch oven inside. Score the top with a single slash. Bake covered 20 minutes, uncovered 20 minutes at 220 degrees. The cinnamon sugar will caramelise slightly where it meets the crust. Let it cool completely, about two hours, before slicing. The wait is hard, but it is worth it. The interior sets up properly and the cinnamon swirls become distinct.
Recipe 5: Sourdough Rye Bread
Rye brings an earthy, slightly sweet flavour that pairs well with cheese, cured meats, and smoked fish. Rye flour has almost no gluten, so you need to blend it with bread flour to get any kind of rise. This 30/70 rye-to-bread-flour ratio gives you rye flavour without turning the bread into a doorstop.
Ingredients
- 350g bread flour
- 150g dark rye flour
- 350g water (70%)
- 100g active starter (20%)
- 10g fine sea salt (2%)
- 1 tablespoon caraway seeds (optional)
Method
Combine both flours and water. The rye will make the dough feel stickier than a pure wheat dough, that is normal. Autolyse 30 minutes. Add starter and mix thoroughly. Wait 20 minutes, add salt and caraway seeds if using. Bulk ferment for three to four hours. Rye ferments faster than wheat, so check the dough earlier than you normally would. Three sets of gentle stretch and folds in the first 90 minutes are enough, but be gentle since rye dough tears more easily than wheat.
Shape into a round boule with moderate tension. Rye dough will never feel as tight as wheat dough during shaping, and that is fine. Place in a heavily floured banneton, using rice flour if you have it since rye dough is notorious for sticking. Cover and cold retard in the refrigerator for 10 to 14 hours.
Preheat oven to 245 degrees Celsius with Dutch oven inside. Score with three parallel slashes, about 1cm deep. Bake covered 25 minutes, then uncovered at 220 degrees for 20 minutes. Rye bread benefits from resting longer than wheat bread. Give it at least two hours before cutting. The flavour actually improves the next day as the crumb sets and the rye starches firm up.
Getting Your Numbers Right
Every one of these recipes follows baker's math, which means you can scale them up or down without losing the ratio. If the percentages look unfamiliar, run them through our sourdough calculator to see exact gram amounts for any flour weight. Adjust the hydration slider to match the recipe, and the tool does the multiplication for you. It also shows the effective hydration, which accounts for the water inside your starter, a number most recipes do not mention but one that affects how your dough actually handles.
What I Wish Someone Told Me Earlier
The biggest revelation in my sourdough journey was that fermentation timing is a suggestion, not a rule. Your kitchen is not the recipe author's kitchen. If the recipe says four hours of bulk fermentation and your kitchen is 18 degrees Celsius, you might need six. If it is 28 degrees, you might need two and a half. Watch the dough, not the clock. It should look puffy, feel airy, and jiggle when you shake the bowl. Those signs matter more than any timer.
The second thing: cold retarding overnight is not optional if you want flavour. You can bake same-day sourdough and it will be decent bread, but the depth of flavour that develops during 12 to 16 hours in the refrigerator transforms a good loaf into a great one. The cold also firms up the dough, which makes scoring dramatically easier. If you have ever watched your score marks disappear into a slack dough, cold retarding solves that problem.